
So, you’ve spent some time learning the constellations, you’ve scanned the Milky Way with binoculars, and now you’re ready for a closer look. Buying your first telescope is a thrilling step, but for the uninitiated, the marketplace can be a minefield of technical jargon and “hobby-killer” equipment.
This guide will break down what actually matters so you can spend your money on views of Saturn’s rings rather than a tripod that won’t stop shaking.
1. The Golden Rule: Aperture Above All
If you remember only one thing from this guide, let it be this: Aperture is the most important specification of any telescope.
Aperture refers to the diameter of the telescope’s main lens or mirror. It determines two things:
- Light Gathering Power: How faint of an object you can see.
- Resolution: How much detail you can see in that object.
The Magnification Trap: Beware of any telescope that uses “Magnification” as its primary selling point (e.g., “600x Zoom!”). Magnification is just a function of the eyepiece you use. Without a large enough aperture to provide light and detail, high magnification just gives you a bigger, blurrier image.
2. Choosing Your “Engine”: Refractor vs. Reflector
There are three main types of telescope designs, each with its own strengths.
The Refractor (Lenses)
These are the classic “spyglass” telescopes. They use a glass lens at the front to bend light.
- Pros: Very low maintenance; rugged design; excellent for high-contrast views of the Moon and planets.
- Cons: Expensive for larger sizes; can suffer from “chromatic aberration” (color fringing around bright objects) in cheaper models.
The Reflector (Mirrors)
Invented by Isaac Newton, these use a curved mirror at the bottom of a tube to reflect light back up to an eyepiece.
- Pros: Best value for your money. You can get a much larger aperture for the same price as a small refractor.
- Cons: Requires occasional “collimation” (aligning the mirrors); the open tube can collect dust over years of use.
The Compound (Catadioptric)
These use a combination of lenses and mirrors to fold the light path, making the telescope very short.
- Pros: Extremely portable and compact; great for “all-around” use.
- Cons: The most expensive per inch of aperture; often requires a longer cool-down time to match the outside temperature.
Summary Checklist
| Feature | What to Look For |
|---|---|
| Aperture | At least $70mm$ (Refractor) or $114mm$ (Reflector). |
| Mount | Sturdy and heavy; avoid flimsy aluminum tripods. |
| Accessories | Look for $1.25$-inch or $2$-inch eyepiece format (standard). |
| Portability | Can you carry it outside easily? The best telescope is the one you actually use. |
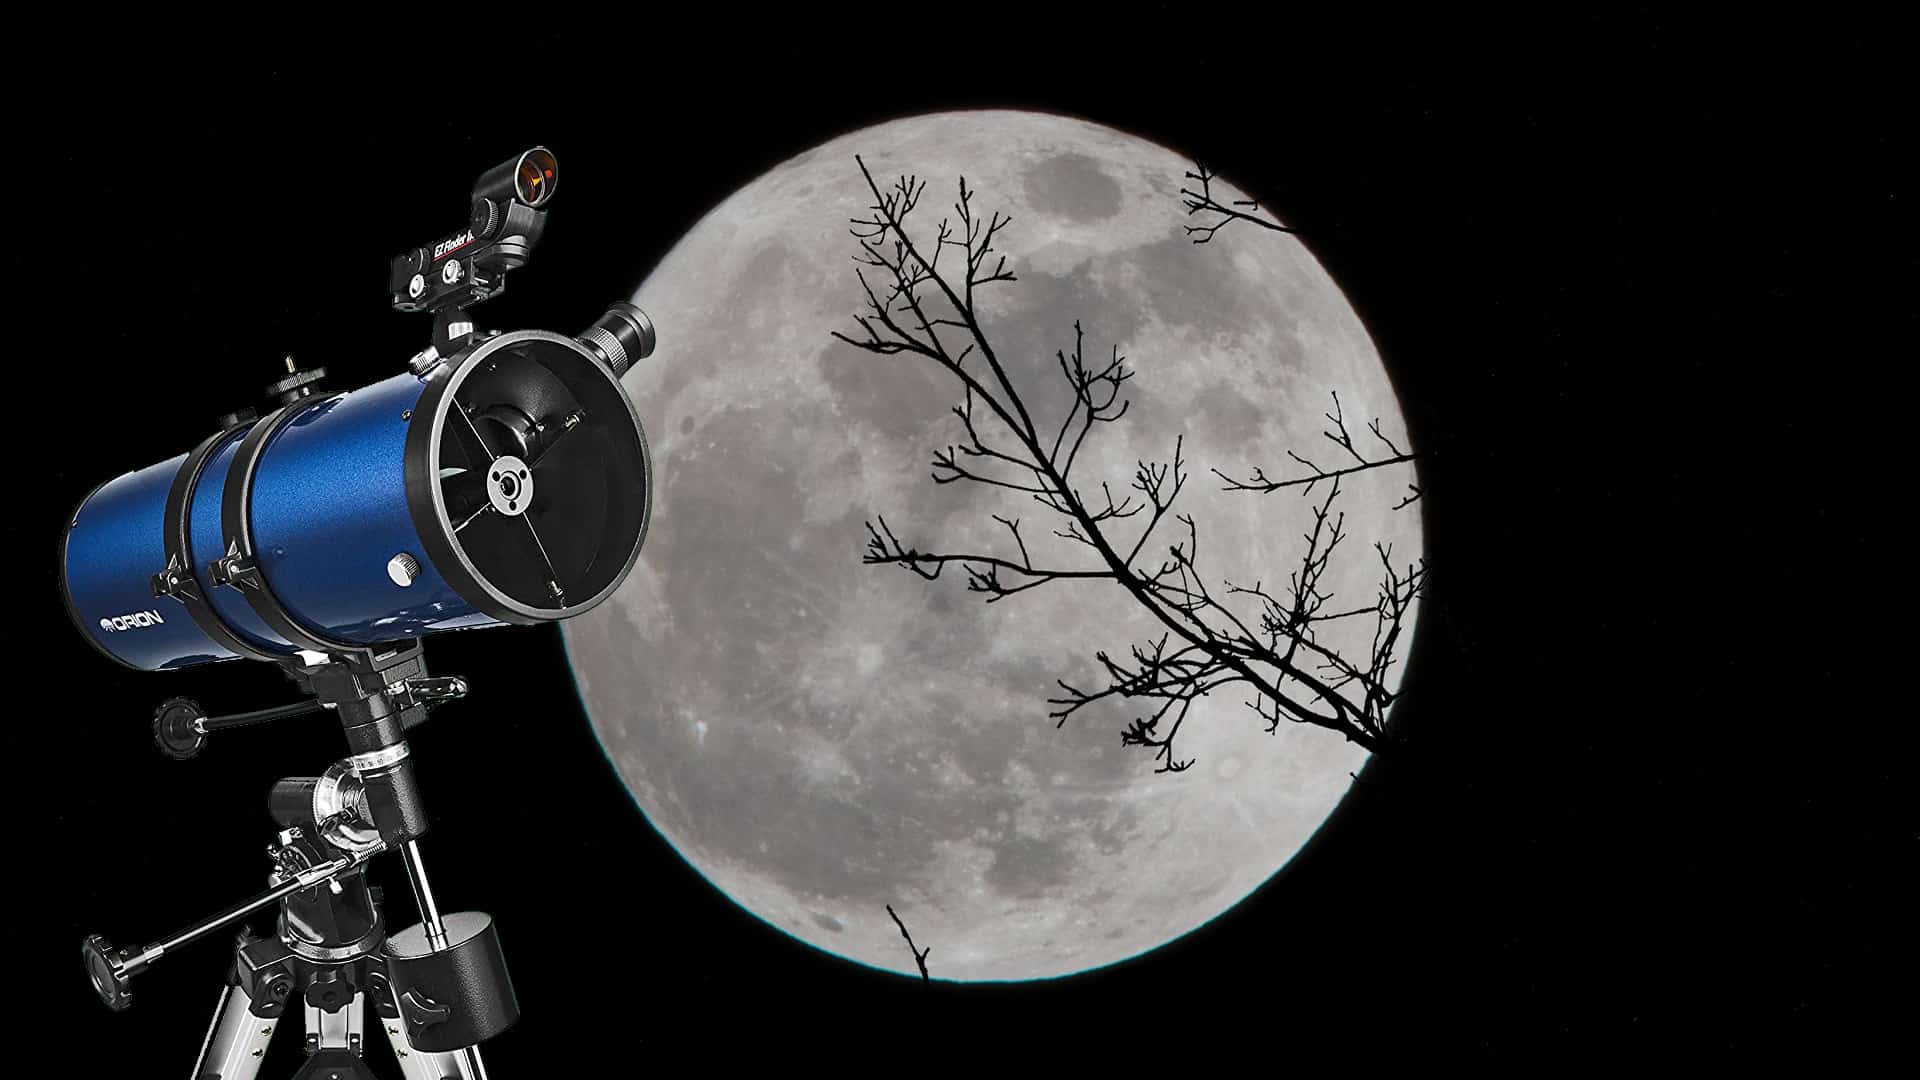
3. The Unsung Hero: The Mount
The mount is the stand the telescope sits on. You could have the world’s best optics, but if the mount is flimsy, the image will dance around every time a light breeze blows or you try to focus.
- Alt-Azimuth (Alt-Az): Moves up-down and left-right. Simple, intuitive, and perfect for beginners.
- Dobsonian: A type of Alt-Az mount that is essentially a heavy wooden box on the ground. This is the gold standard for beginners because it is rock-solid and allows for very large reflectors at a low price.
- Equatorial (EQ): Aligned with the North Star to track the sky’s rotation. Excellent for astrophotography, but has a steep learning curve for visual observers.
4. Practical Buying Tips
- Start with a 4″ to 6″ Dobsonian: If you have the space, a $6$-inch Dobsonian is arguably the perfect starter telescope. It’s powerful enough to show you thousands of deep-sky objects but simple enough for a child to use.
- Check the “Steady” Factor: When shopping, give the telescope a gentle tap. If the vibration takes more than two seconds to stop, the mount is too weak for the telescope.
- Join a Star Party: Before buying, look for local astronomy clubs. Members are almost always happy to let you look through their gear, which is the best way to see what you actually like.