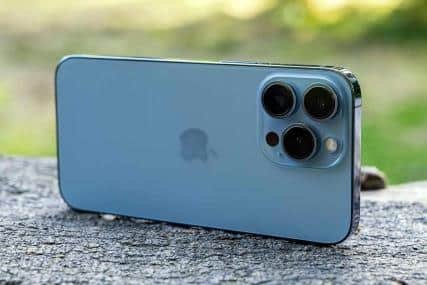
Refurbishing an iPhone 13 can be a rewarding endeavor, extending the life of your device and potentially saving you money. This guide will walk you through the process, from assessing your phone’s condition to performing essential repairs.
Assessing Your iPhone 13’s Condition
Before diving into the refurbishment process, it’s crucial to evaluate your phone’s overall condition.
- External Damage: Check for cracks on the screen, dents on the body, and wear and tear on the buttons.
- Internal Issues: Assess battery health, camera functionality, charging ports, and speaker performance.
- Software Problems: Verify that the phone’s software is up-to-date and free of bugs or glitches.
Necessary Tools and Parts
To successfully refurbish your iPhone 13, you’ll need the following:
- Essential Tools:
- Precision screwdriver set
- Suction cup
- Opening picks
- Tweezers
- Spudger
- Replacement Parts:
- Battery
- Display assembly
- Camera modules
- Charging port
- Other components as needed
Backup Your Data
Before disassembling your iPhone, create a complete backup of your data. Contacts, images, messages, and other crucial files are included in this. Apple’s iCloud or iTunes can be used for this purpose.
Disassembling Your iPhone 13
This step requires careful attention to avoid damaging your phone. Follow a detailed disassembly guide or video tutorial specifically for the iPhone 13 model. Common steps include:
- Removing the SIM tray
- Heating the rear glass to loosen adhesive
- Carefully separating the rear glass
- Disconnecting the battery
- Removing other components as necessary
Cleaning the Device
Thoroughly clean the internal components of your iPhone using compressed air and a soft brush. Remove any dust, debris, or fingerprints.
Replacing Damaged Components
This is where you’ll install replacement parts as needed. Follow the disassembly guide in reverse order to reassemble your iPhone. Pay close attention to the alignment of components and secure connections.
- Battery Replacement: Ensure the new battery is compatible with your iPhone model. Follow the specific instructions for your device.
- Display Replacement: Replacing a cracked or unresponsive screen can significantly improve your iPhone’s usability.
- Camera Replacement: If your camera is not functioning correctly, replacing the module might resolve the issue.
- Other Components: Address any other damaged components, such as the charging port or speakers.
Reassembling Your iPhone 13
Once all necessary repairs are complete, carefully reassemble your iPhone. Ensure all components are securely in place and the adhesive seals properly.
Software Updates and Restoration
After reassembly, update your iPhone’s software to the latest iOS version. Restore your backed-up data to your refurbished phone.
Testing Your Refurbished iPhone
Thoroughly test all functions of your iPhone to ensure everything works as expected. Check the display, camera, battery life, charging, and overall performance.
Preventive Maintenance
To prolong the life of your refurbished iPhone, consider the following tips:
- Use a protective case to shield your phone from drops and scratches.
- Apply a screen protector to safeguard the display.
- Avoid exposing your iPhone to extreme temperatures.
- Ensure the charging port is clear of debris and kept clean.
- Regularly update your iPhone’s software.
Conclusion
Refurbishing an iPhone 13 can be a challenging but rewarding process. By following these steps and exercising caution, you can extend the life of your device and potentially save money. Remember to refer to detailed guides and tutorials specific to your iPhone model for accurate instructions.


